A nozzle that looks like a standard threaded fitting can still be the wrong part for a fixed kitchen fire-suppression system. Before ordering, you need to identify the system, agent, nozzle pattern, orifice, cap and approved layout, then replace and test the part without leaving the cooking area unprotected.
Key takeaways
- Match the nozzle to the system assembly, discharge pattern, and manufacturer’s part number.
- Never substitute a dry-powder extinguisher nozzle for a kitchen suppression nozzle.
- Clean only unobstructed, undamaged nozzles; replace blocked, corroded, or altered parts.
- Test the completed system and document recommissioning before returning the kitchen to service.
How do you identify the correct kitchen suppression nozzle before ordering?
Record the complete system identity before ordering a kitchen suppression system nozzle. The correct part depends on the listed assembly, not on a similar-looking fitting or matching thread.
- System manufacturer and model
- Wet-chemical agent type, cylinder or cartridge details
- Nozzle part number and every stamped marking
- Inlet thread, inlet size, discharge angle, orifice and temperature rating
- Blow-off or fusible cap, including its specified type
- Protected arrangement: fryer, griddle, range, wok, exhaust plenum or duct entry
Compare those details with the manufacturer’s design manual or layout drawing. A photograph and thread measurement cannot confirm the required flow rate, spray pattern or listing.
| Evidence | What it confirms | Risk if ignored |
|---|---|---|
| Manufacturer part number and design drawing | Approved nozzle, placement, orifice and discharge angle | Wrong coverage or an invalidated system listing |
| Existing appliance and hood layout | Whether the arrangement still matches the design | A new fryer, wok, hood dimension or nozzle location may require redesign |
| Appearance or thread size alone | Only a rough visual similarity | A nozzle from another system can discharge incorrectly |
Check the cap before ordering: a missing, damaged, taped-over or non-listed cap can admit grease or obstruct discharge. For a kitchen suppression system nozzle for replacement in bhandup, provide the supplier with this complete identification, not only a photograph of the damaged component.
Why is a kitchen nozzle different from a dry-powder extinguisher nozzle?
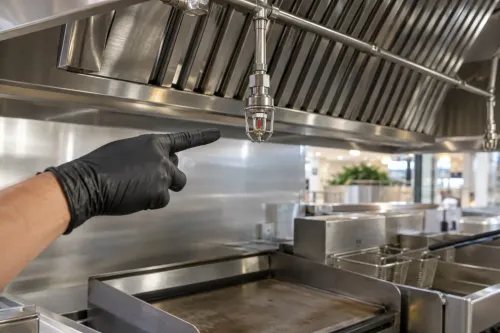
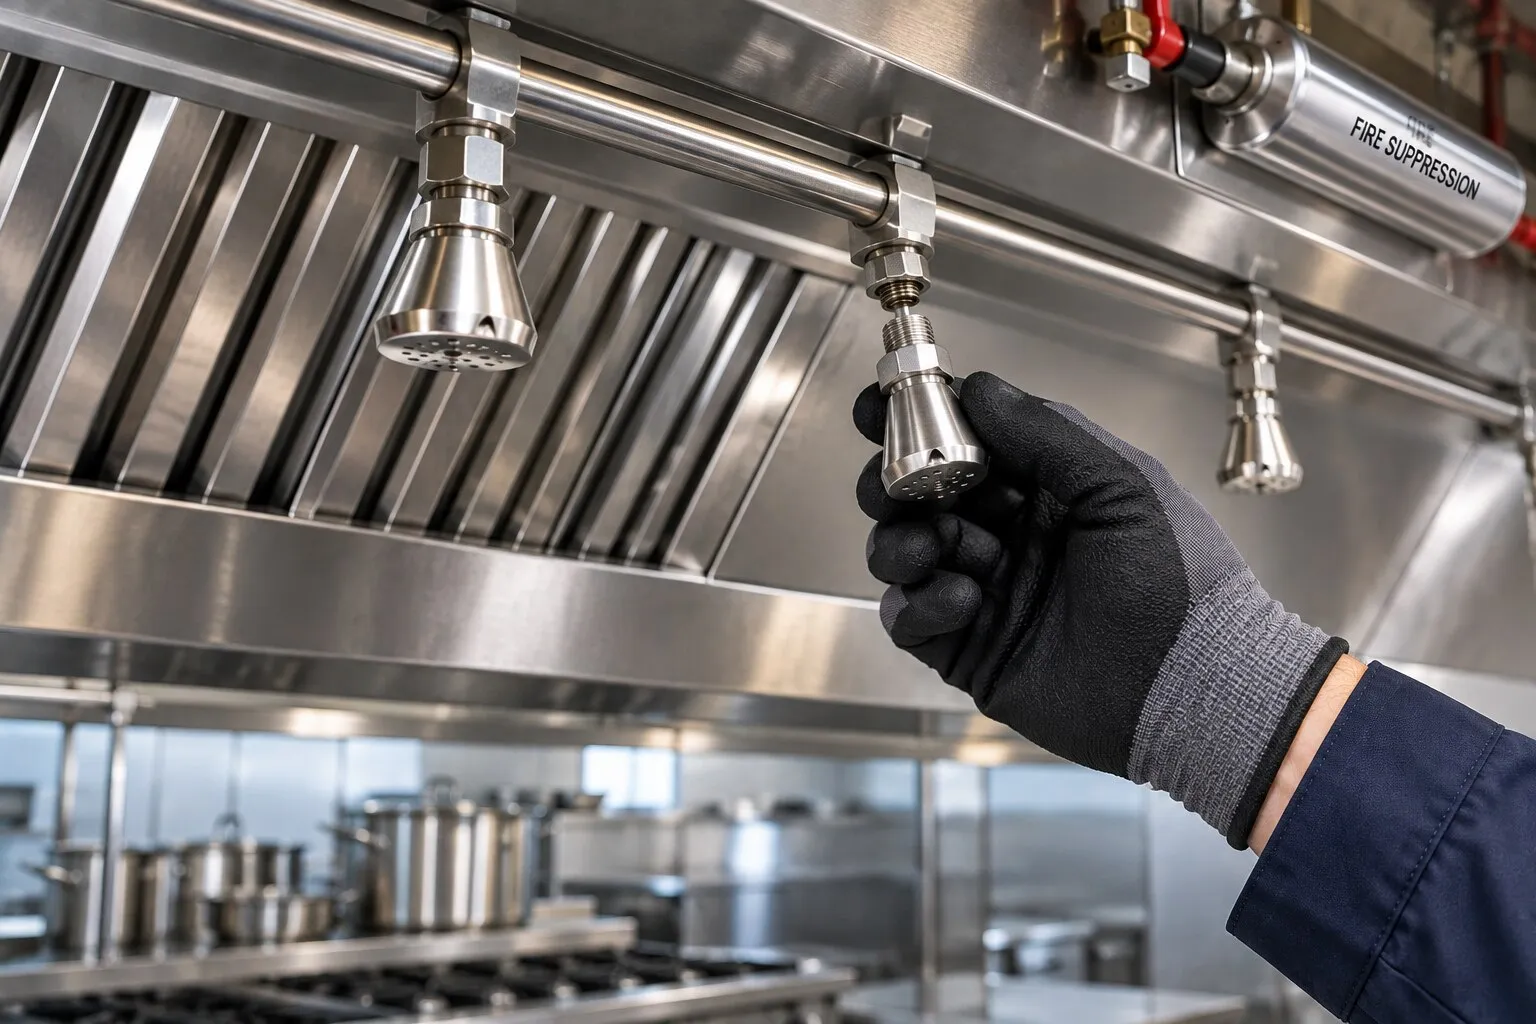
A kitchen suppression system nozzle is part of a fixed wet-chemical assembly, not a generic spray fitting. The agent cylinder, releasing mechanism, pipe network, protected fryer or range, and hood or duct geometry determine its listed flow rate and spray pattern.
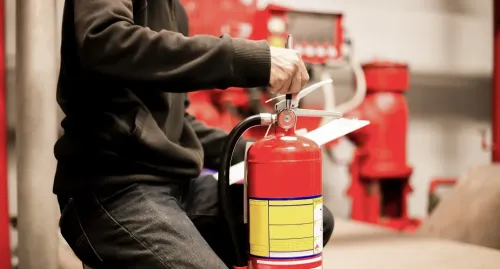
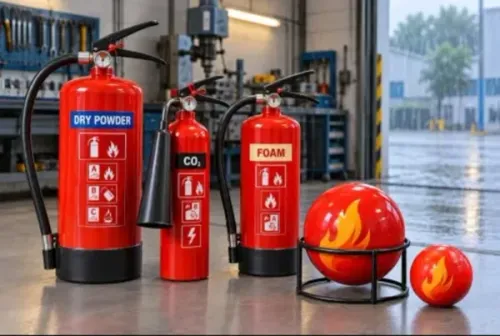
A dry powder extinguisher nozzle belongs to a portable extinguisher’s valve, hose or horn connection. Its discharge geometry is matched to the extinguisher model, capacity, powder classification and operating pressure. A component that screws in is not automatically safe: the wrong nozzle can alter flow, reach, pressure behaviour and system listing.
Before substituting a spare, check the complete extinguisher assembly:
1. For a dry powder extinguisher nozzle replacement, record the make, model, cylinder capacity, agent type, valve outlet and hose or horn connection.
2. Confirm that the nozzle’s discharge passage matches the extinguisher. After fitting, check unobstructed flow, correct reassembly, safety pin, tamper seal, pressure gauge or agent mass, and the updated service record.
3. Do not treat a nozzle as the entire repair. Corrosion, leakage, lost agent, an incompatible valve or overdue hydrostatic testing requires assessment of the complete extinguisher.
4. Never use a dry-powder extinguisher nozzle on a fixed kitchen system. Wet-chemical discharge performance depends on the approved nozzle, piping layout and appliance coverage, so physical compatibility cannot replace the manufacturer’s listed part.
When should you clean a nozzle, and when should you replace it?
Clean a kitchen suppression system nozzle only when the contamination is removable by the manufacturer’s permitted method; replace it when cleaning could damage its calibrated discharge path or cannot restore the listed condition.
1. Isolate the system according to its procedure before inspection. Examine the nozzle, cap and nearby pipework for a blocked orifice, grease, paint, tape, insects, corrosion, impact damage, loose fittings, a missing cap or altered alignment.
2. Check the pipe supports and confirm that the nozzle still points at the intended fryer surface, griddle, range, exhaust plenum or duct entry. A nozzle moved even a small distance from the approved drawing can change coverage.
3. Clean only as the manufacturer permits. Do not insert wire, a drill or a sharp tool into the orifice; probing can change its calibrated geometry, damage the nozzle or leave debris inside.
4. Treat the protective cap as a functional part, not a shipping cover. Replace a damaged, missing, taped-over or non-listed cap with the specified blow-off or fusible type.
5. Replace the nozzle when contamination cannot be removed safely, the orifice is damaged, corrosion has affected the body or threads, the cap is wrong, or the part cannot be verified against the system listing. A nozzle that looks clean but is misaligned, unsupported or unverified still leaves the workshop or commercial kitchen exposed.
What is the safe replacement and recommissioning sequence?
Treat the replacement as an impairment of the complete suppression system, not as a nozzle-only repair. Use this sequence:
1. Isolate the cooking equipment, fuel supply, electrical supplies and suppression system exactly as the manufacturer’s procedure requires. Tag the system out of service and notify workshop or kitchen staff before work begins.
2. Confirm agent isolation and complete depressurisation. Do not loosen or remove a nozzle fitting while the pipework or cylinder remains pressurised.
3. Remove the defective nozzle and fit the manufacturer-approved part with the specified connection, orientation, orifice and cap. Keep the pipework supported, and clear grease, paint, tape, insects and other obstructions from the discharge path.
4. Inspect the agent cylinder pressure or cartridge, detection line or fusible links, manual pull station, releasing mechanism and connected piping. Replacing only the visible nozzle can leave the detection or actuation circuit impaired.
5. Perform the leak test and any pipe flushing required by the system procedure. Do not insert wire, a drill or a sharp tool into the nozzle orifice.
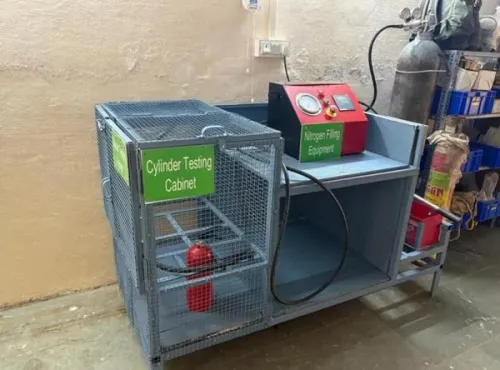
6. Do not assume a live agent discharge is required. Follow the manufacturer’s instructions to determine whether the work requires a functional, flow or acceptance test; an unnecessary discharge can contaminate equipment and require recharge.
7. Restore automatic detection and actuation after verification. Remove the impairment tag only when the system is ready for service, then record the part number, date, findings, tests performed and responsible person.
How should a Bhandup workshop choose the replacement supplier and service scope?
A supplier should quote against the system, not a photograph or thread size. Send the system make and model, nozzle marking, agent details, appliance layout, photographs of the hood and pipework, and the reason for replacement.
Ask for written confirmation that the proposed part is approved for that system and matches:
- Orifice and flow specification
- Discharge pattern and orientation
- Blow-off or fusible cap
- Temperature rating
- Manufacturer part number
For comparison, separate a component sale from a maintenance job:
| Option | What it includes | When it applies |
|---|---|---|
| Component-only supply | Verified nozzle, part number and compatibility confirmation | You already have qualified maintenance staff and testing arrangements |
| Nozzle replacement service | Isolation, removal, approved fitting, leak checks and alignment inspection | The nozzle is blocked, damaged, corroded or unverified |
| Complete return-to-service check | Nozzle work plus cylinder, detection, actuation, pressure, agent and documentation review | The system or extinguisher has been impaired, serviced or overdue for testing |
For a fire extinguisher spare nozzle in Bhandup, provide the extinguisher make, model, capacity, powder classification, and valve or hose connection. For a dry powder extinguisher nozzle replacement, request correct reassembly, an unobstructed discharge passage, safety-pin and seal checks, pressure or mass verification, and an updated service record instead of buying an unverified hose-end fitting.
Ignitek Solutions Pvt Ltd is useful when the job extends beyond the part: it can assess the connected extinguisher or fixed system and identify whether refilling, hydrotesting, pressure checks or documentation are also due. The lowest-cost nozzle is not the decision; verified compatibility and documented return to service are.
Related products
Fire Extinguishers Spare Nozzle - Stored Pressure Dry Powder ₹50 Discharge Nozzles for ABC Stored Pressure Dry Powder Type Fire Extinguishers View product → |
 | Kitchenhood Fire Suppression System 9L Ignitek Solution Pvt. Ltd. Kitchen Hood Fire Suppression System is specially developed for Kitchen Fire application against specific requirement A... |
Frequently asked questions
How do you identify the correct kitchen suppression nozzle before ordering?
Record the system manufacturer, model, nozzle part number, flow or discharge rating, thread size, and installation position. Confirm these details against the system manual or approved parts list rather than matching appearance alone.
Why is a kitchen nozzle different from a dry-powder extinguisher nozzle?
A kitchen suppression nozzle is designed for the system’s agent, discharge pattern, coverage area, and protected cooking equipment. A dry-powder extinguisher nozzle is part of a portable extinguisher and is not an interchangeable replacement.
When should you clean a nozzle, and when should you replace it?
Clean a nozzle when approved cleaning restores an unobstructed orifice and the body, cap, threads, and seal remain undamaged. Replace it when it is blocked, corroded, deformed, damaged, missing its cap, or altered by paint or residue.
What is the safe replacement and recommissioning sequence?
Isolate the system, prevent accidental discharge, confirm the replacement part, remove the old nozzle, inspect the fitting, install the approved nozzle, restore the system, and test and document the completed work according to the manufacturer’s procedure.
How should a Bhandup workshop choose the replacement supplier and service scope?
Choose a supplier that can identify the system, provide a traceable approved nozzle, inspect connected pipework and detection components, complete functional testing, and issue a service record. Ask whether isolation, replacement, testing, and recommissioning are included.
Keywords